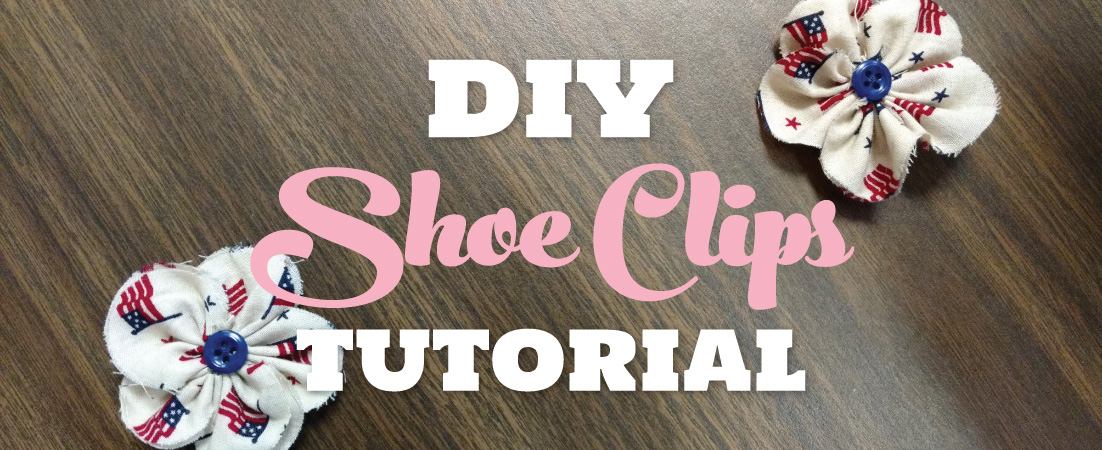
We're back with more DIY tips, just in time for Christmas!
If you're feeling overwhelmed this holiday season, you're not alone. Take a
moment to step back, sit down, and do a little therapeutic crafting—you'll be
surprised by how much fun it can be! Not only that, but when you're done, you
have a lovely handmade gift for someone special. Many of you have enjoyed
Englin's holiday sales and will be wrapping up shoes to slip under the tree, so
why not add a little personalized accessory to make your present even more
special? This project is quick, easy, and can totally transform a pair of shoes
without making any permanent alterations.
DIY Shoe Clips
What You Need:
- Fabric
- Two (2) buttons or beads
- Two (2) shoe clips
- Needle and thread
- Scissors
- Pencil
- Hot glue gun
Last time, we taught you how to make super simple DIY Shoelaces. These shoe clips require just a little bit more effort, but the results are so worth it! Fabric flowers adorn this particular set, but the possibilities for this project are infinite.
You probably already have most of the materials lying around the house. You'll need just a bit of fabric—this can be from remnants or even old clothes. We used some printed fabric that was leftover from another project. A pair of buttons or beads will serve as the flowers' centers. Shoe clips are a little bit harder to come by, so you'll likely have to stop by your local craft or fabric store to find them. Finally, a needle and thread, scissors, a pencil, and a hot glue gun will help you put it all together.
Step 1: Trace 10 circles that are 2 inches in diameter on your fabric, then cut them out.
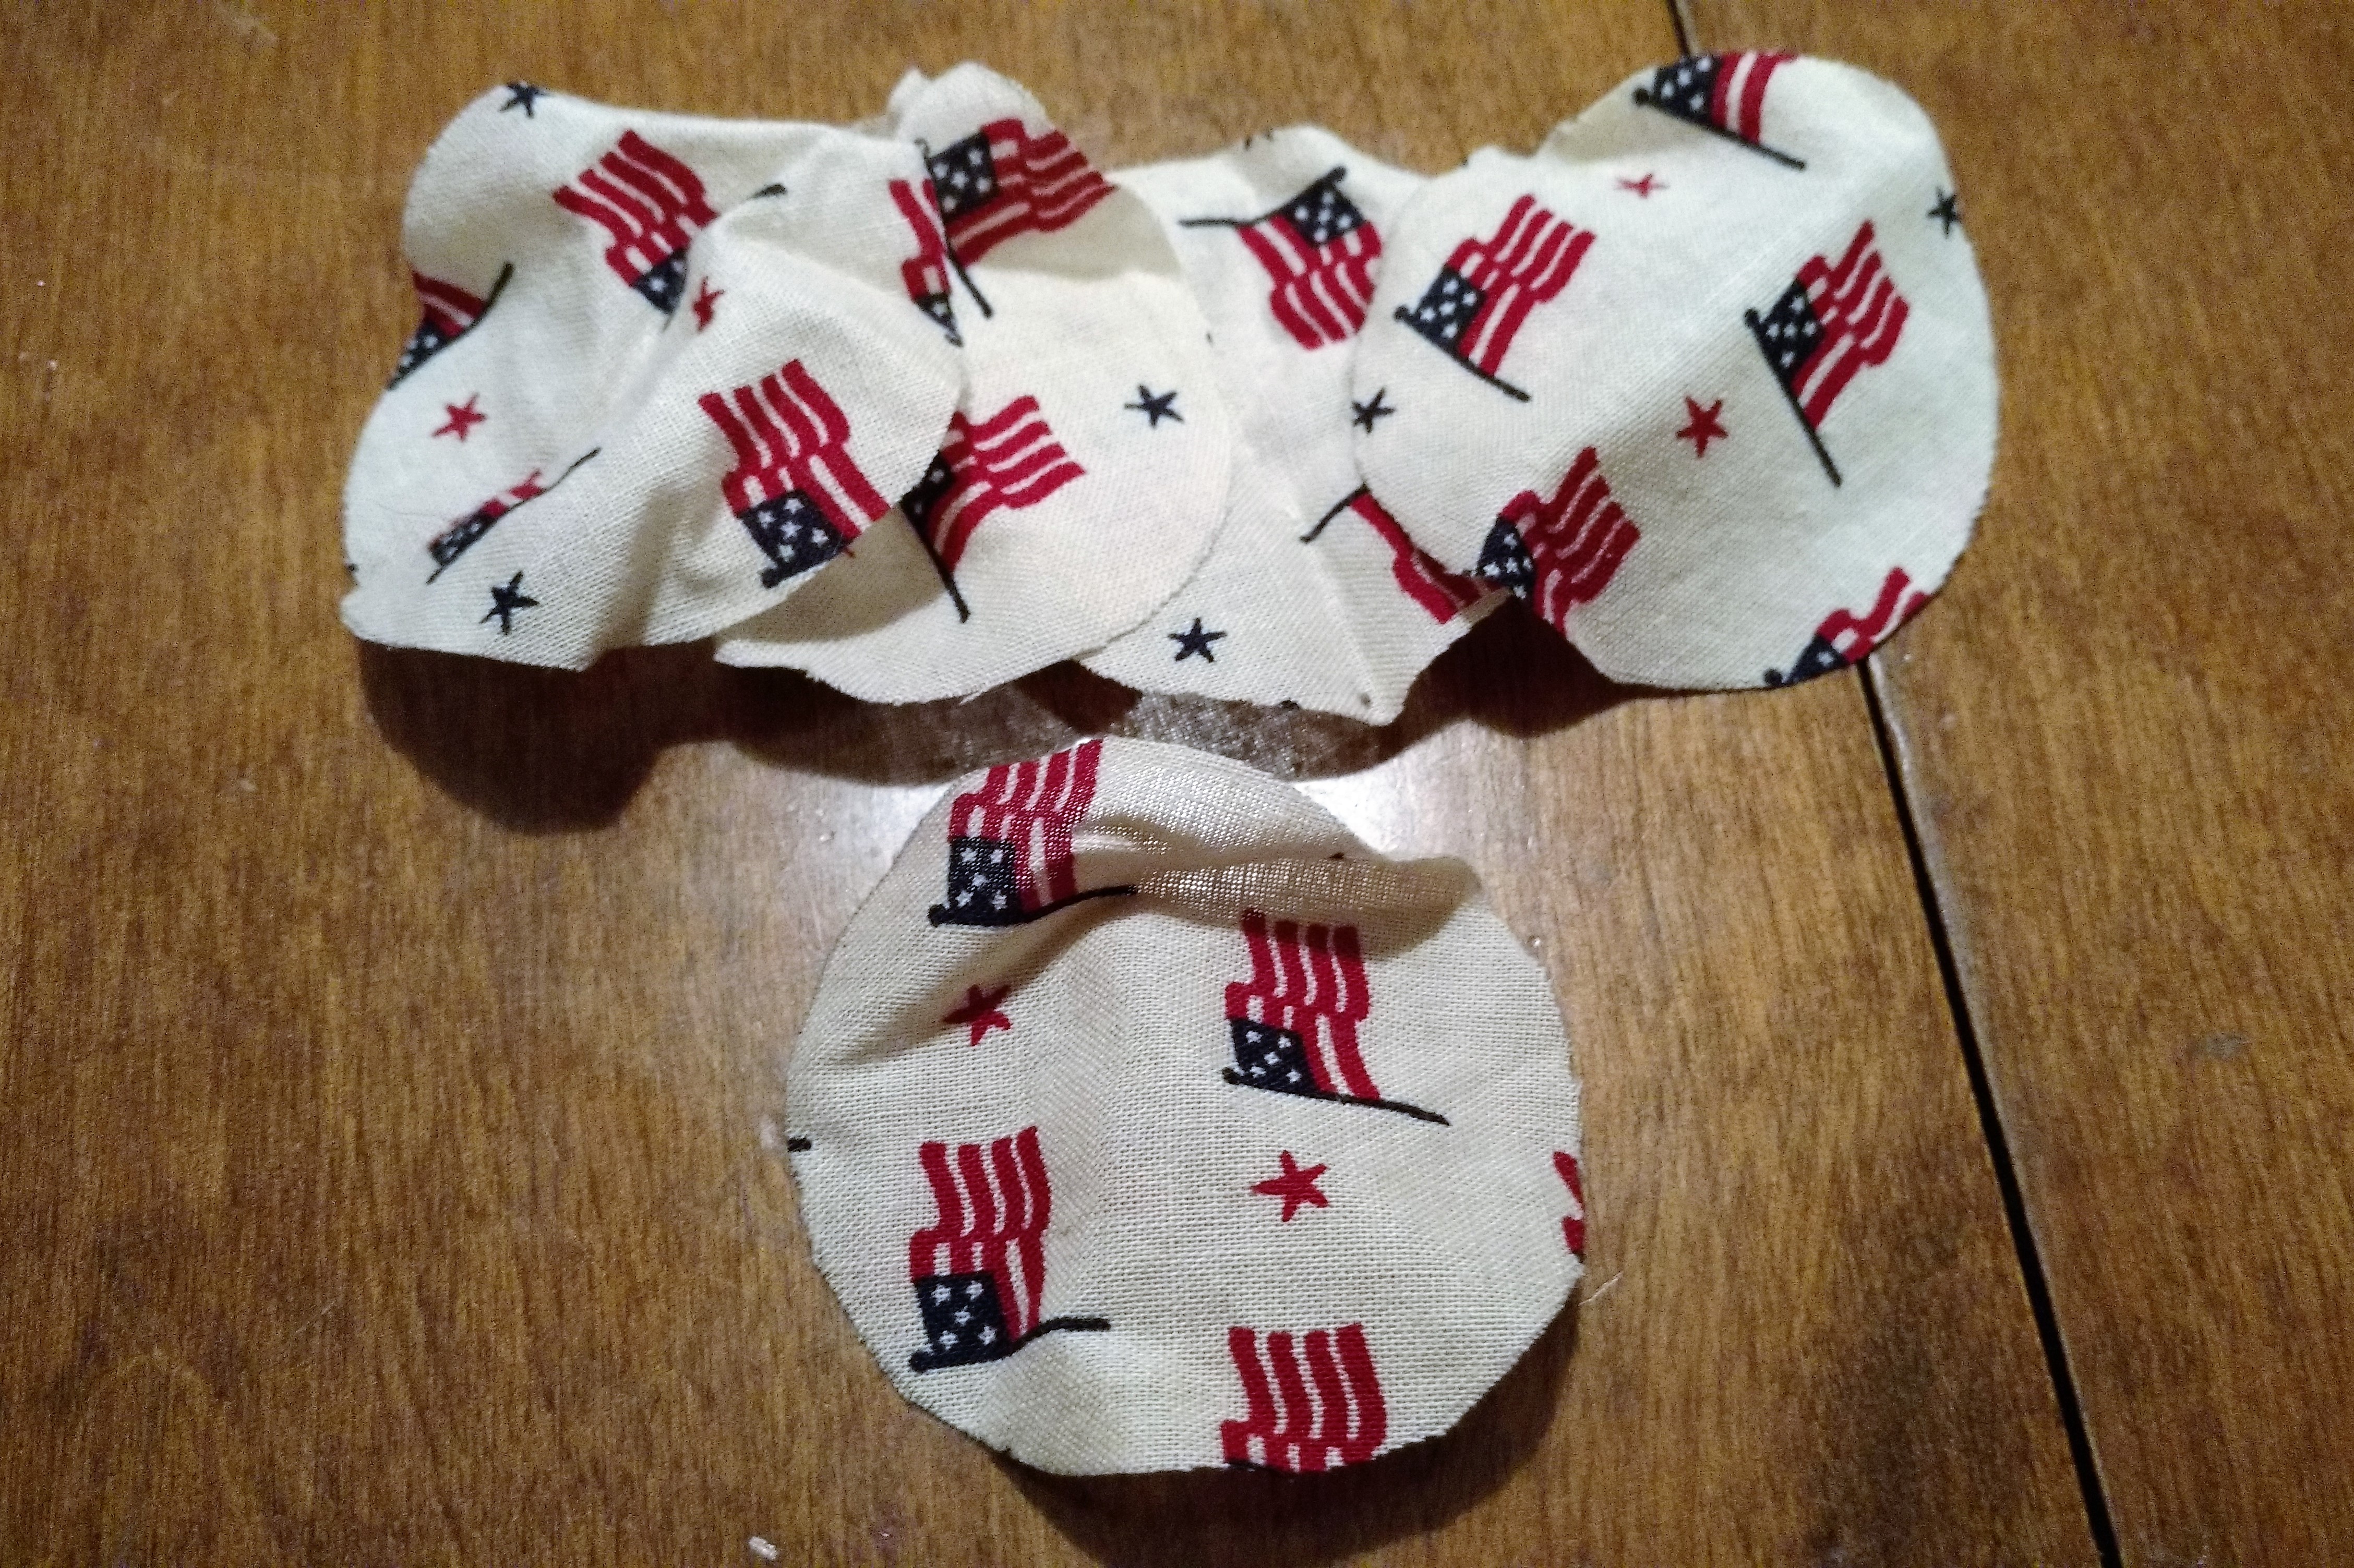
Our fabric was a little wrinkly, but it doesn't matter!
You can use a regular pencil or a fabric pencil for this step. The circles don't have to be exactly 2 inches as long as they are all the same size. The easiest way to complete this step is to find a suitably-sized circular object to trace around, like a small jar lid. (It's also a good idea to go ahead and plug in your hot glue gun so that it will be ready for later.)
Step 2: Fold your circles in half.
If your fabric is only printed on one side, make sure you keep the print on the outside and fold the blank side inward.
Step 3: Using a running stitch, start sewing along the folded edge of your first circle.
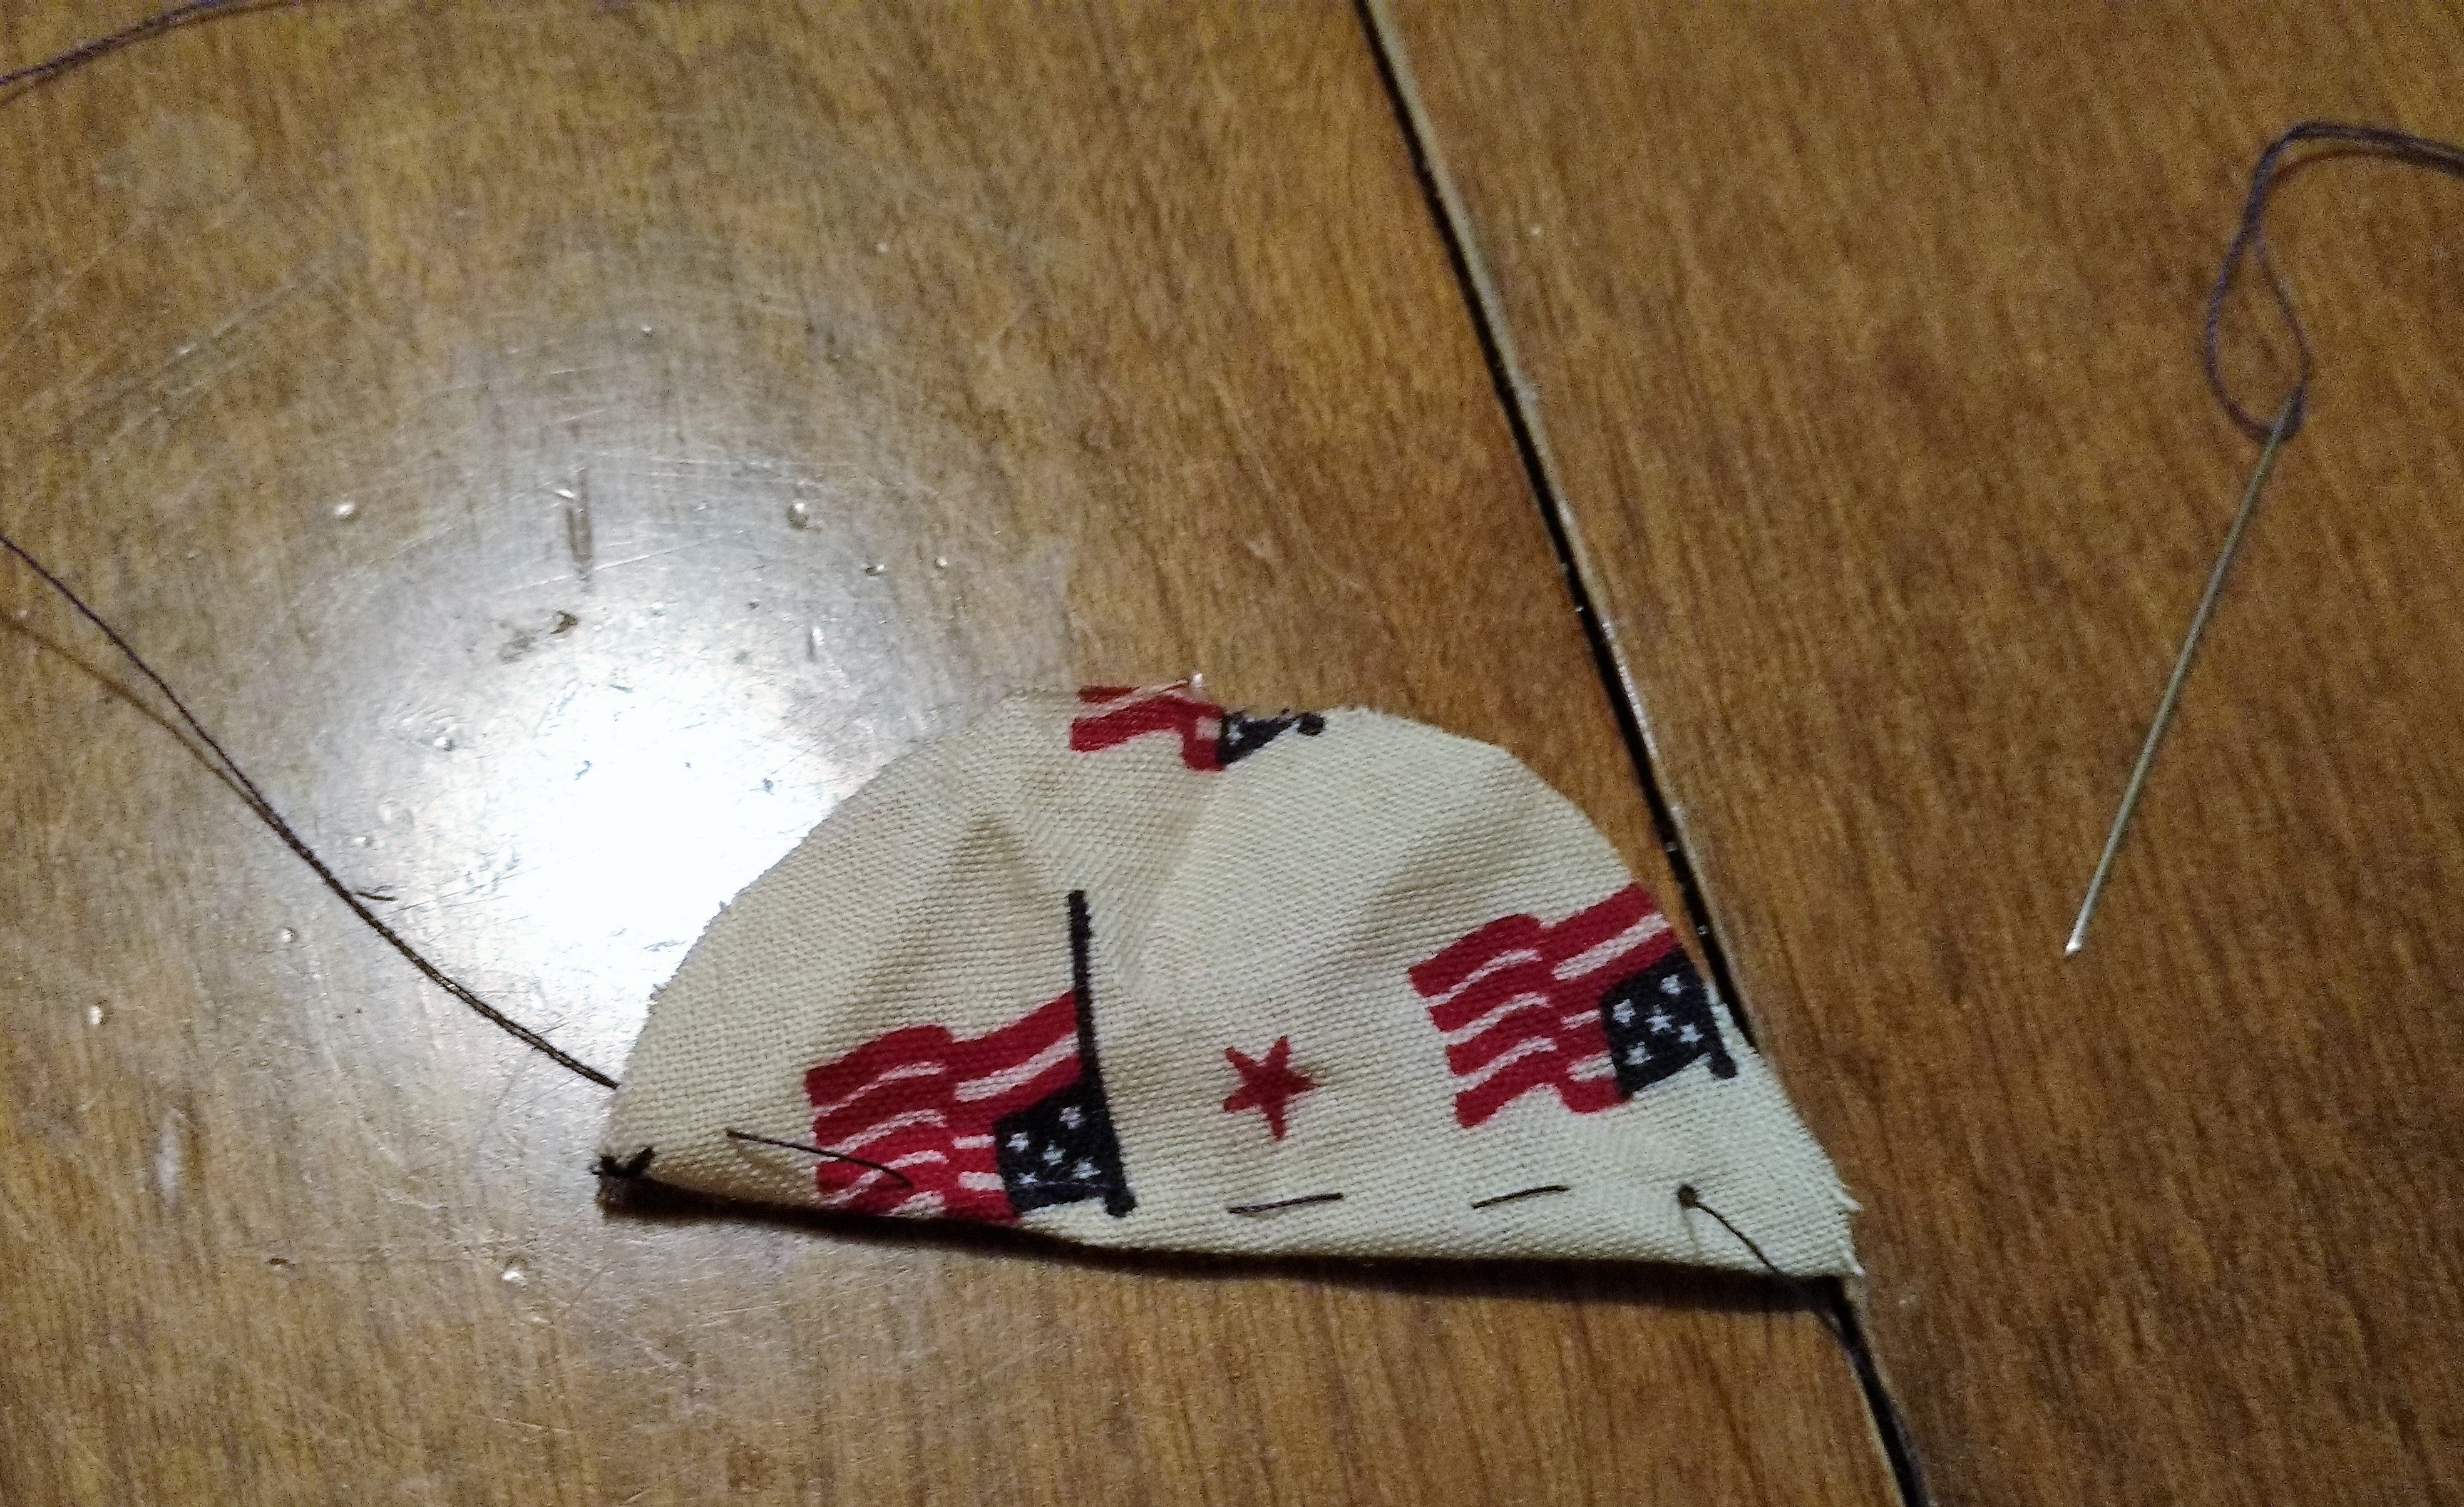
You don't have to be a seamstress to perform this easy stitch, and it doesn't need to be perfectly even-- it won't be seen!
Cut a length of thread—two feet is more than enough—and knot one end. Thread your needle with the other end, then poke your needle through both layers of fabric at one corner of your folded circle and pull the knot tight against the fabric. A running stitch is the simplest way to sew, and you probably know how even if you don't know what it's called: just take the thread through the fabric every ¼ inch or so, so that the visible thread alternates between front and back. If you need a visual, imagine the way a dolphin leaps in and out of the water! Sew through both layers all along the folded edge of the circle.
Step 4: Keep attaching more circles until you've sewn 5 circles together.
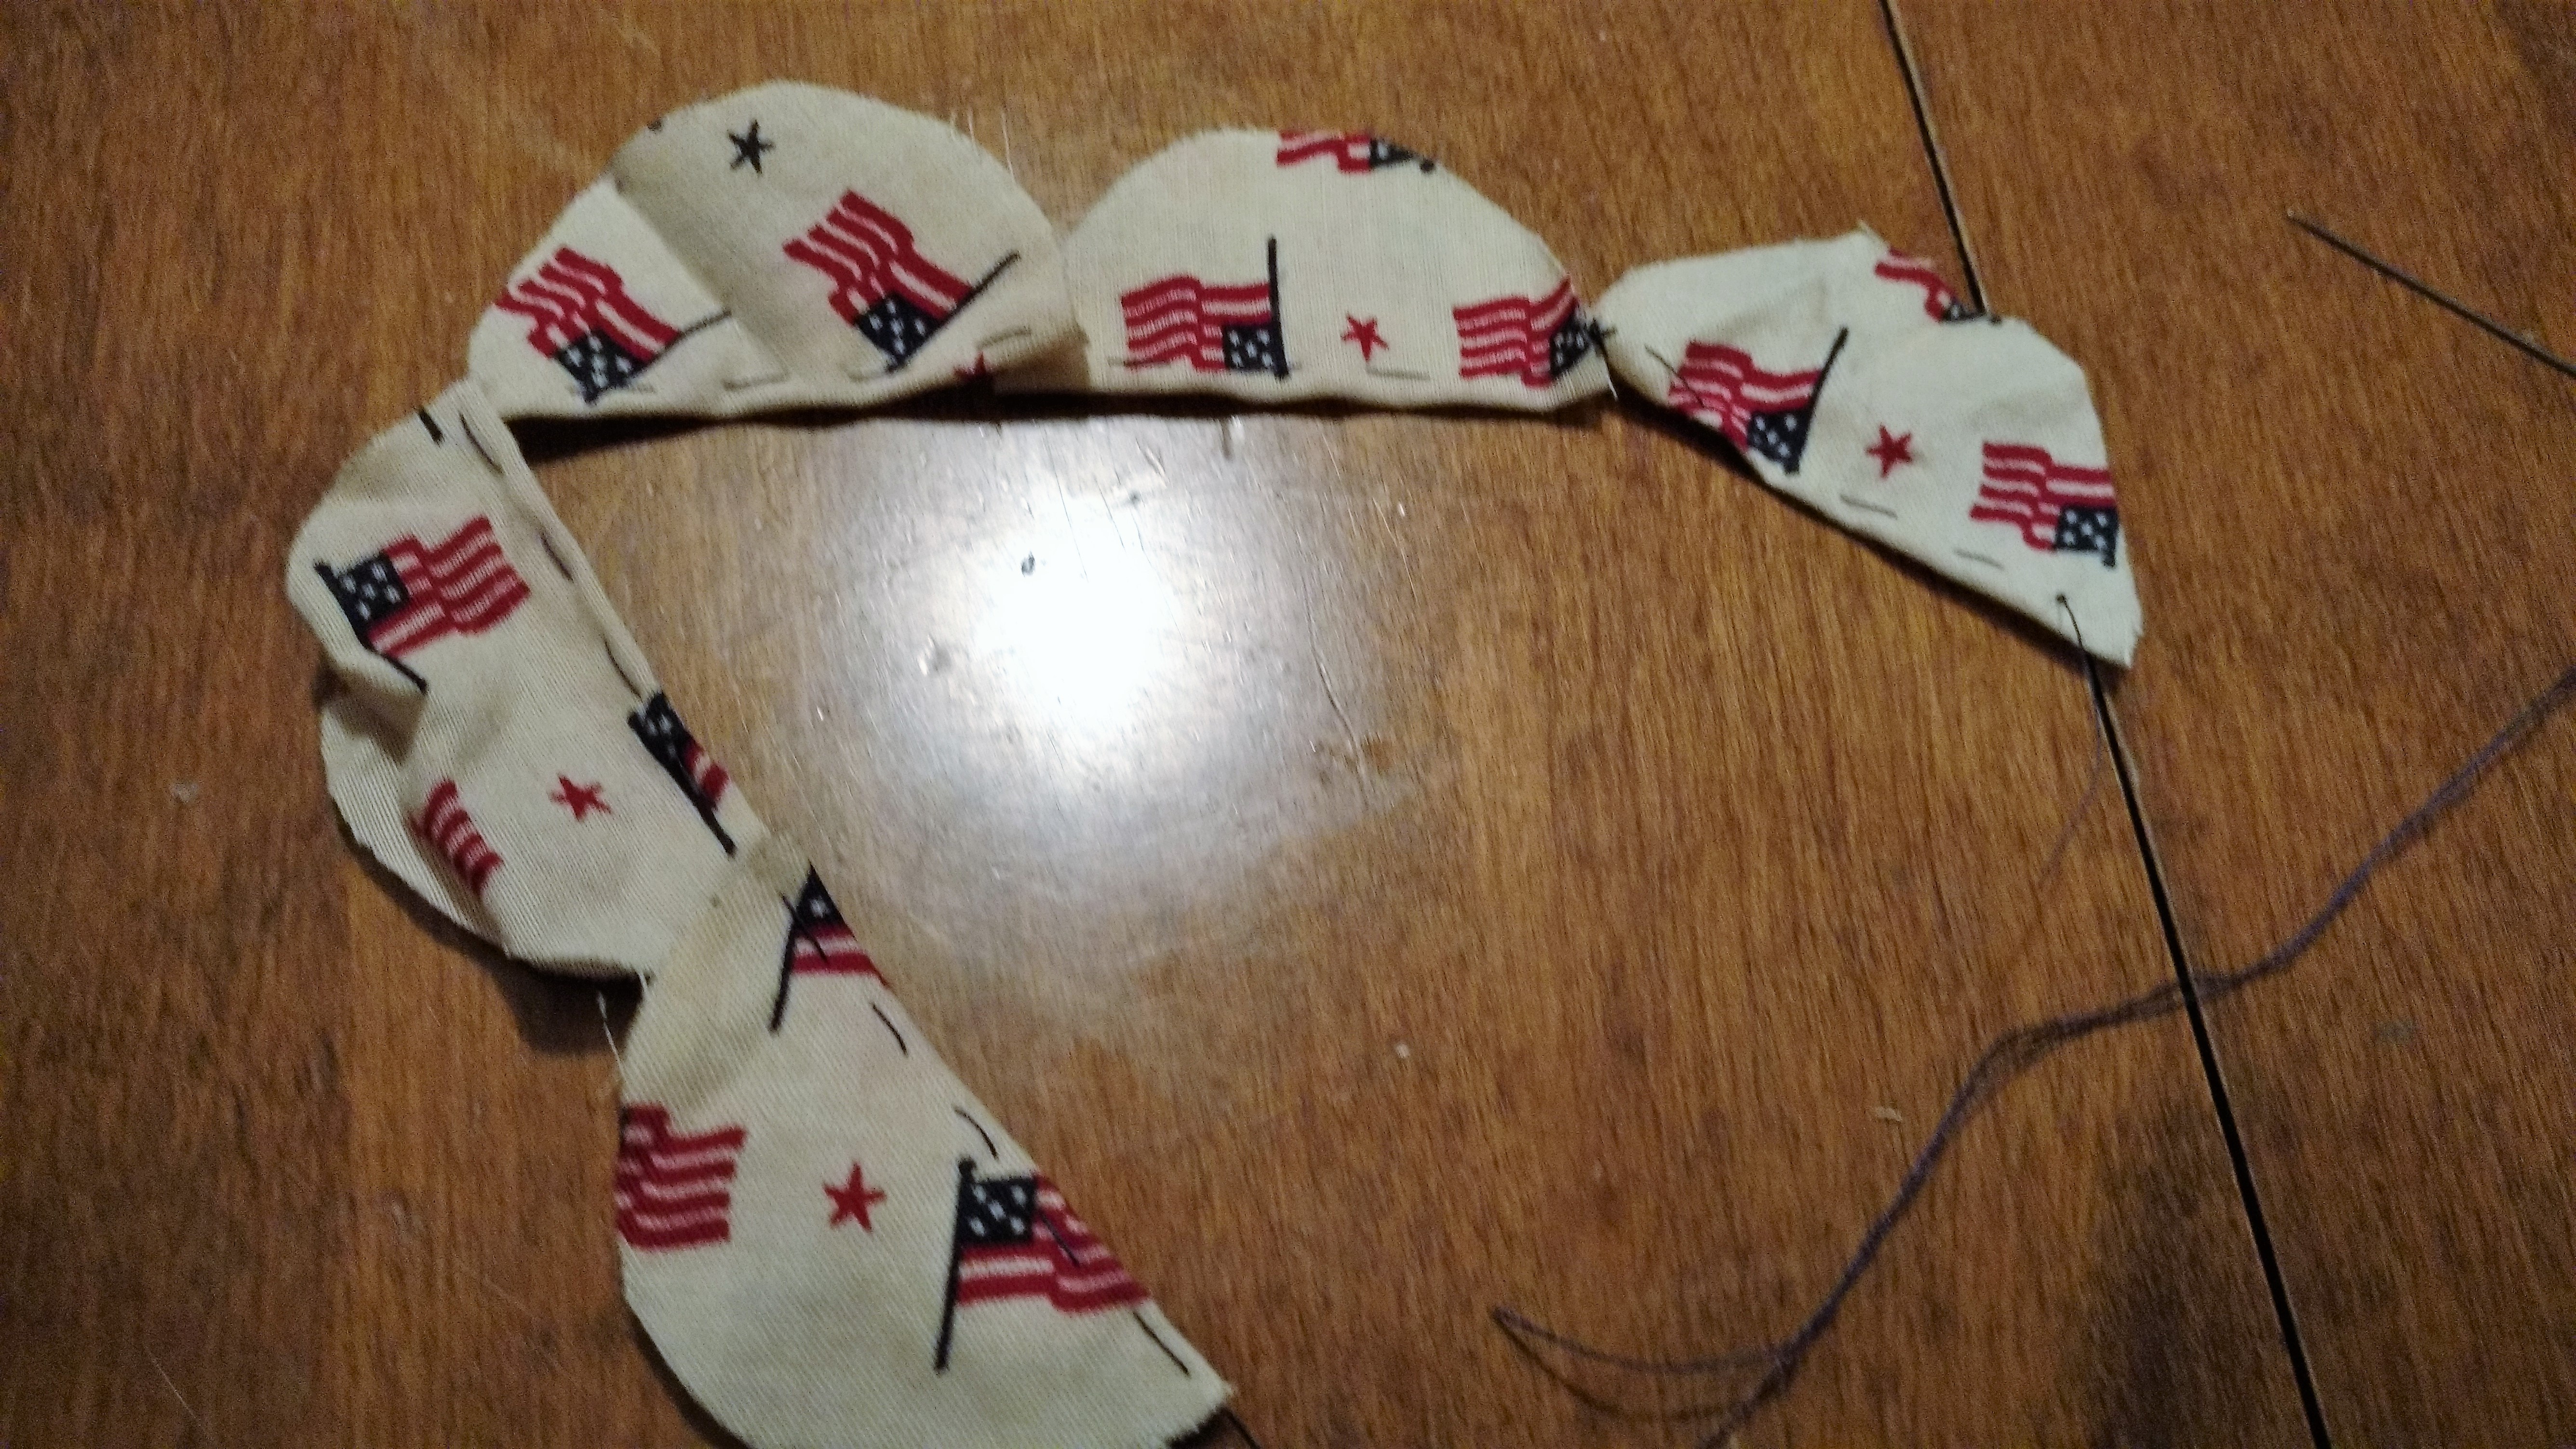
If you stitched through from front to back at the end of one circle, it seems easiest to begin the new one with a front-to-back stitch.
When you come to the end of one circle, start sewing another with the same thread, pulling the new circle tight against the previous one. Soon you'll have a chain of half-circles. Use 5 per flower if you want a classic look.
Step 5: Pull the thread to make petals.
After the fifth circle, pull on your thread and push the circles together so that they all bunch up on the folded side. Don't stop until they all look like petals. Once you're happy with the way your petals look, sew the fifth petal to the first one to make your flower.
PRO TIP: You'll need to cover the "hole" in the center of
your flower with the button
or bead you've chosen, so make sure you pull the
petals together tightly enough!
Step 6: Sew on your flower's center.
We chose a little blue button for our flower's center. You will want to sew this onto the middle of the flower. It's a good idea to attach the center to all the petals, so that A) you won't have any unsightly gaps, and B) it's less likely that it will come apart later. When the center is sewn in place, tie off your thread by making a loose stitch and running the needle back through it before pulling it tight, creating a half-knot. Do this a few times more to secure the knot, and then cut off your excess thread.
Step 7: Attach the shoe clip.
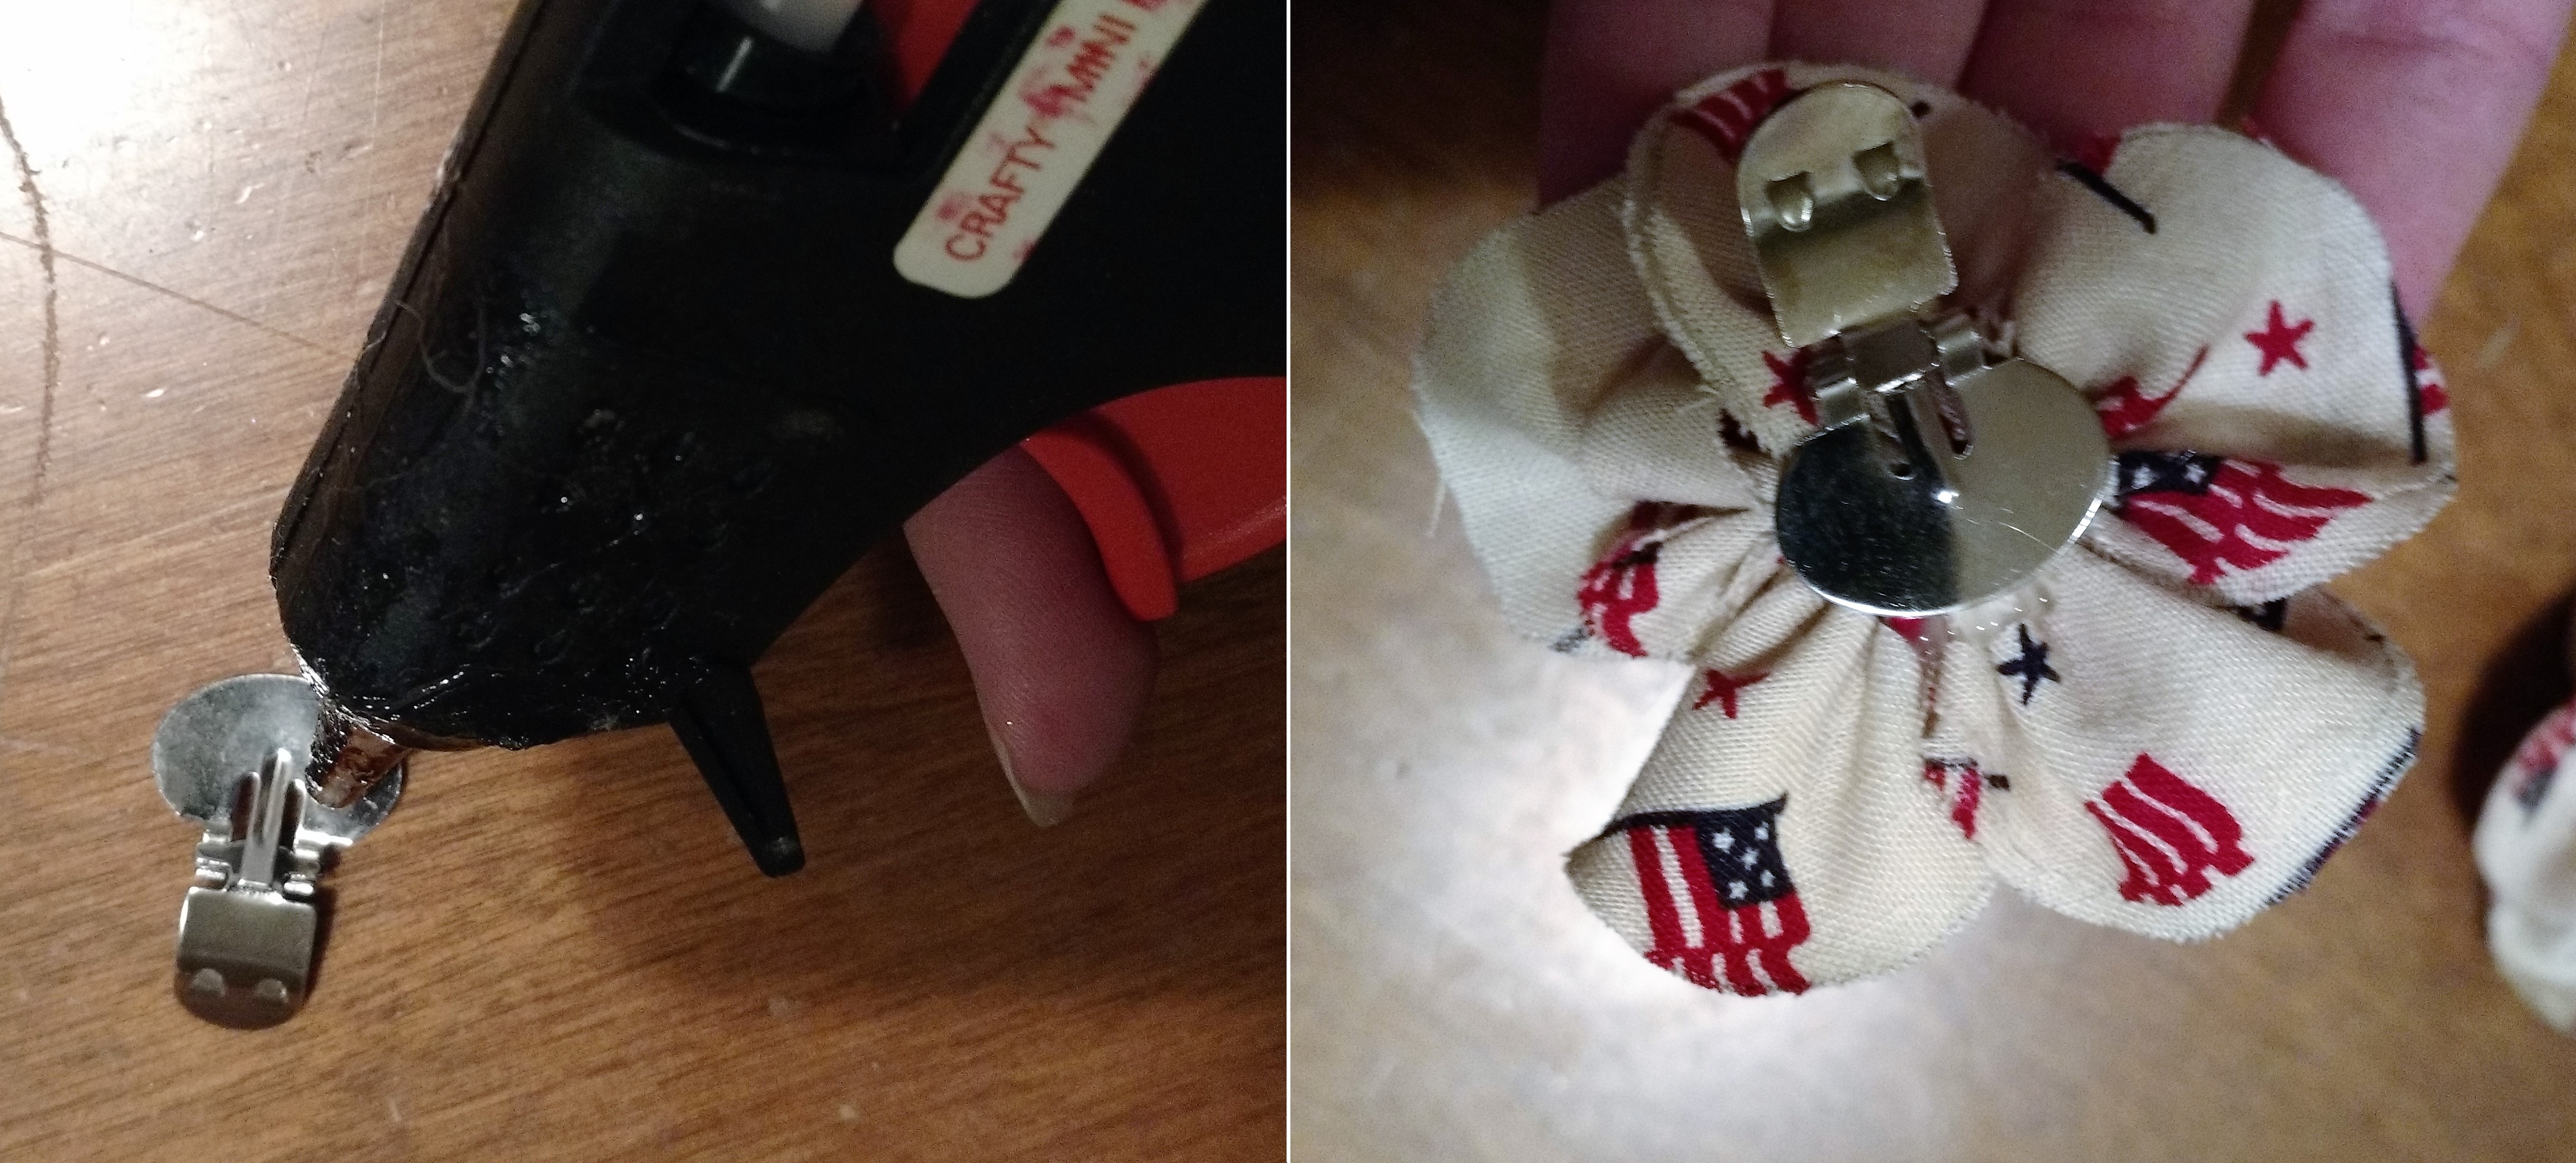
We put ours in the middle, but if you want the flower to hang down over the shoe more, position the clip near the edge of a petal.
Now you have a pretty flower! The last and easiest step is to attach the shoe clip. Simply put a dot or two of hot glue on the face of the clip and firmly press on the flower. Leave it sitting undisturbed while the glue dries. This is a great time to start working on clip number two. Once you've repeated all the steps for the second clip, you have a pair of accessories to make some cute shoes even cuter!
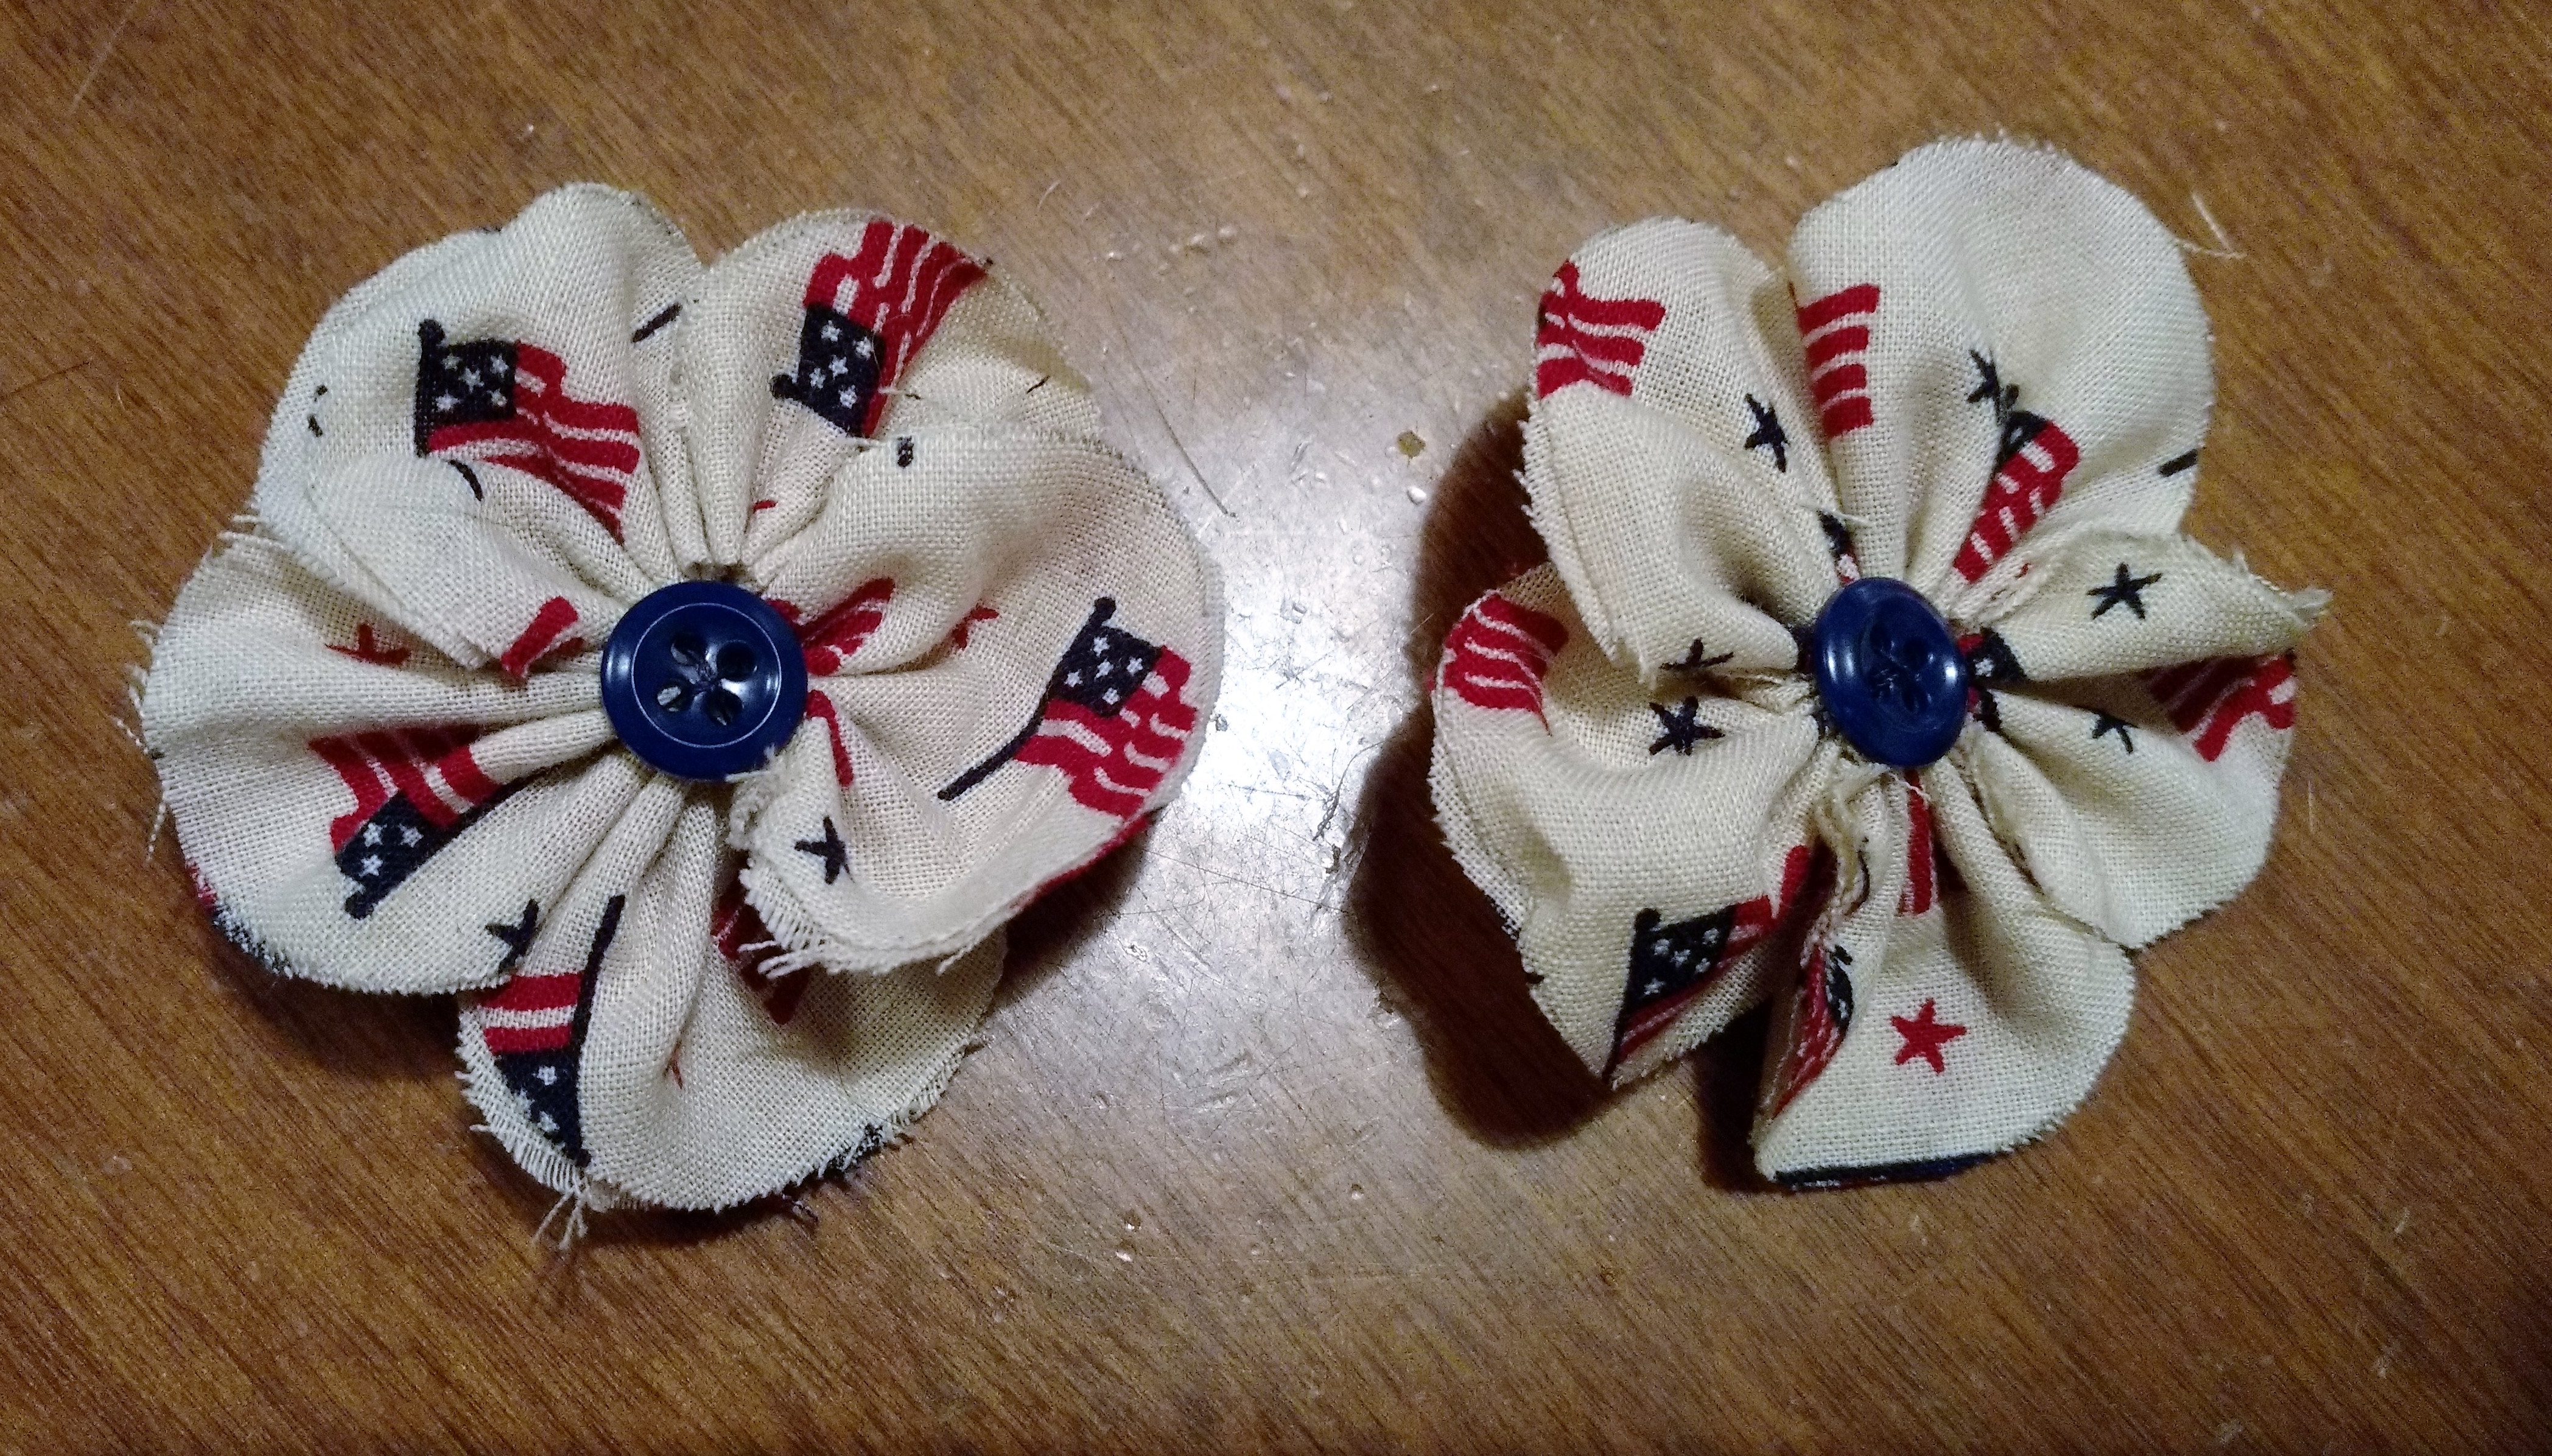
All done!
The best thing about this project is that there are dozens of ways to modify and personalize it. Make your flower petals from a variety of fabrics for a patchwork look, cut smaller petals for subtlety or bigger ones to make a statement, or add more petals to achieve a fuller flower. You can even attach these flowers to hair clips or brooch pins instead, or use them in other crafting projects.
Fabric flowers aren't the only things you can attach to shoe clips, of course. Bows, rhinestones, feathers, and other small accents are great options as well. If you think it would look great on your shoes, stick it on a shoe clip and try it out!
Shoes you can pair floral shoe clips with:
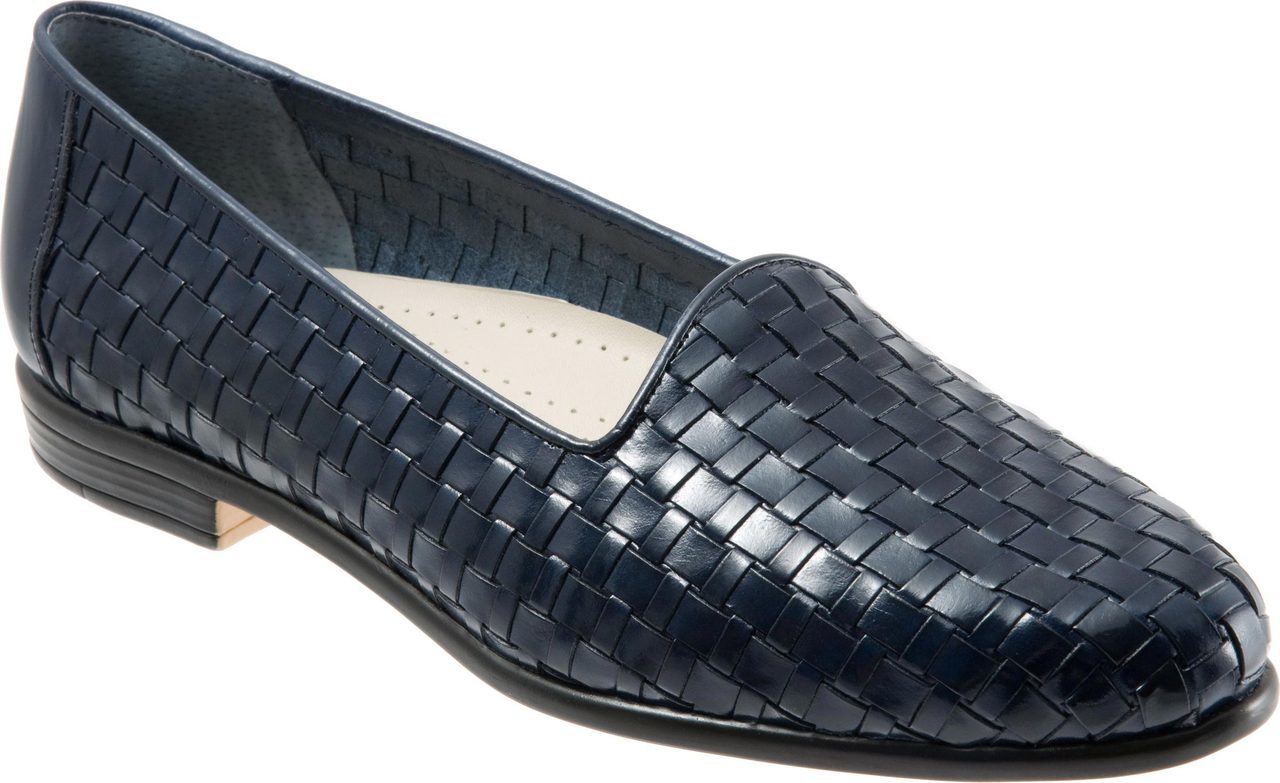
Trotters Liz
Trotters Liz in Navy. Also available in Black, Brown, Pewter, and more.
The Trotters Liz is the brand's bestselling style, probably because it shines in its simplicity. This woven leather slip-on is available in a wide variety of colorways, so you're sure to find one that matches your personal sense of style. The Liz features a cushioned insole to give your foot the comfort it deserves, all day, every day. A flexible, rubberized sole finishes off this light and versatile shoe.
Much of the Liz's popularity comes from its adaptable design. You can dress it up or down and pair it with a wide variety of outfits, so it's a favorite among women of style. If you like the versatility but want a little more embellishment, the Liz is a perfect candidate for shoe clips!
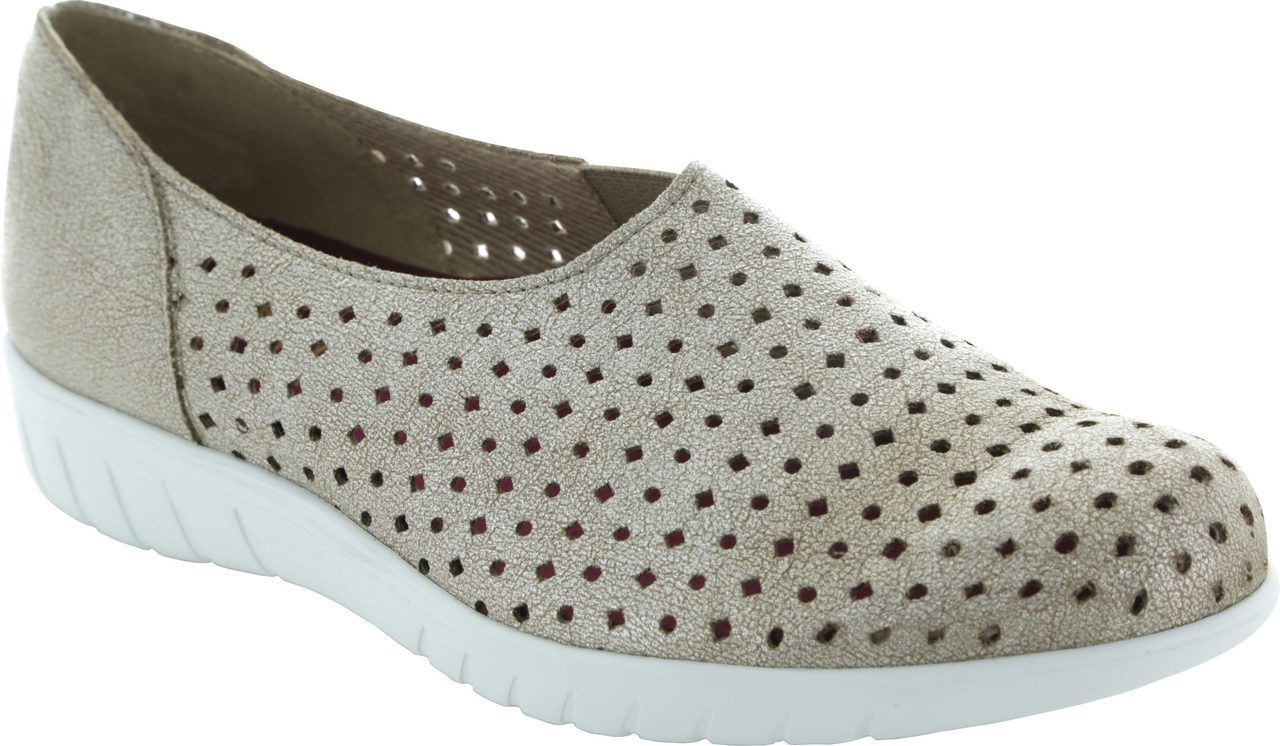
Munro Skipper
Munro Skipper in Platinum Fabric. Also available in Black Nubuck, Indigo Nubuck, Red Nubuck, and more.
Our customers love Munro shoes because of their superior fit and comfort, and the Munro Skipper is no exception. This slip-on is a sporty alternative to Munro's dressier shoes with its flexible, ultra-light white outsole and trendy perforated upper. The removable molded footbed is supplemented by a riveted steel shank to provide all-day support. Slacks, capris, and jeans all pair well with the Munro Skipper, so it's a worthy investment for any clotheshorse. Plus, it's available in a huge variety of sizes and widths, so you're certain to find a Skipper that fits the unique shape of your foot.
The Munro Skipper is easily complemented by shoe clips. A brightly-colored skipper with a bow or flower in a contrasting color is sure to be a hit!
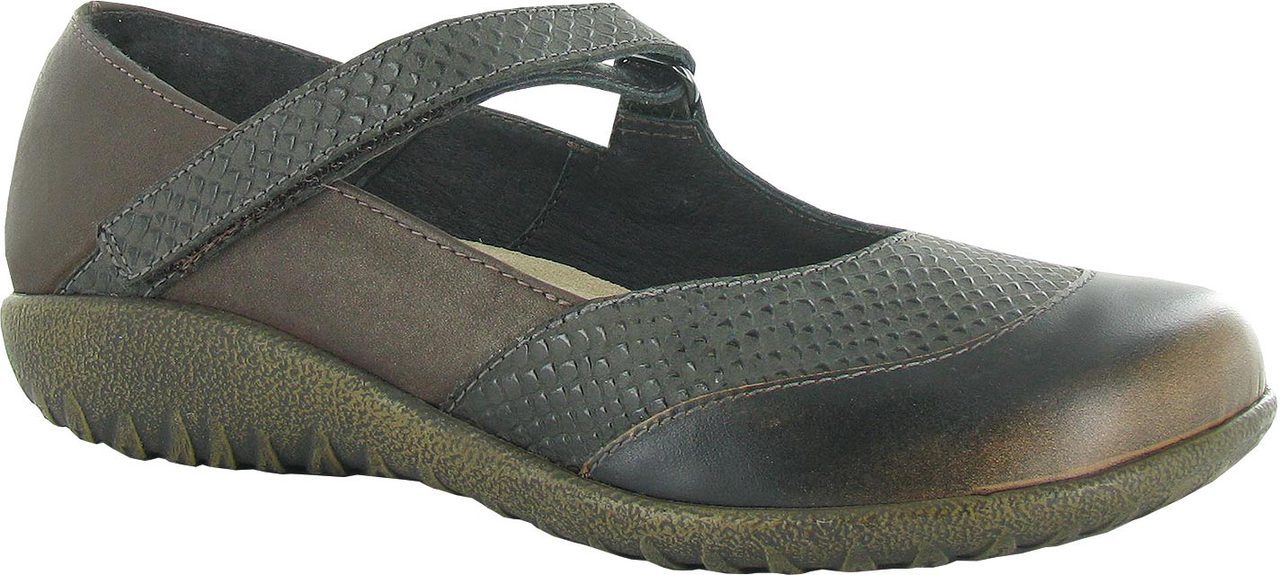
Naot Luga
Naot Luga in Brown Croc/Shimmer/Volcanic Brown Leather. Also available in Black, Gray, and Navy colorways.
The classic Mary-Jane gets a fresh new look with the Naot Luga. The Luga's diagonal instep strap and contrasting leathers combine to make one gorgeous shoe! The hook-and-loop strap is adjustable, so you can ensure a perfect, custom fit. A cushioned heel cup, padded technical lining, and removable cork footbed give the Luga exceptionally cozy comfort, while a durable, lightweight polyurethane sole lends the Luga an inch of height. This Mary-Jane is constructed using the Strobel technique, which results in an unusually strong and flexible shoe.
Naot shoes like the Luga are exquisitely handcrafted in Israel, so each one is a work of art in itself. For that extra pop of color, add a bow, or you can highlight the Luga's natural beauty with a rhinestone ornament.
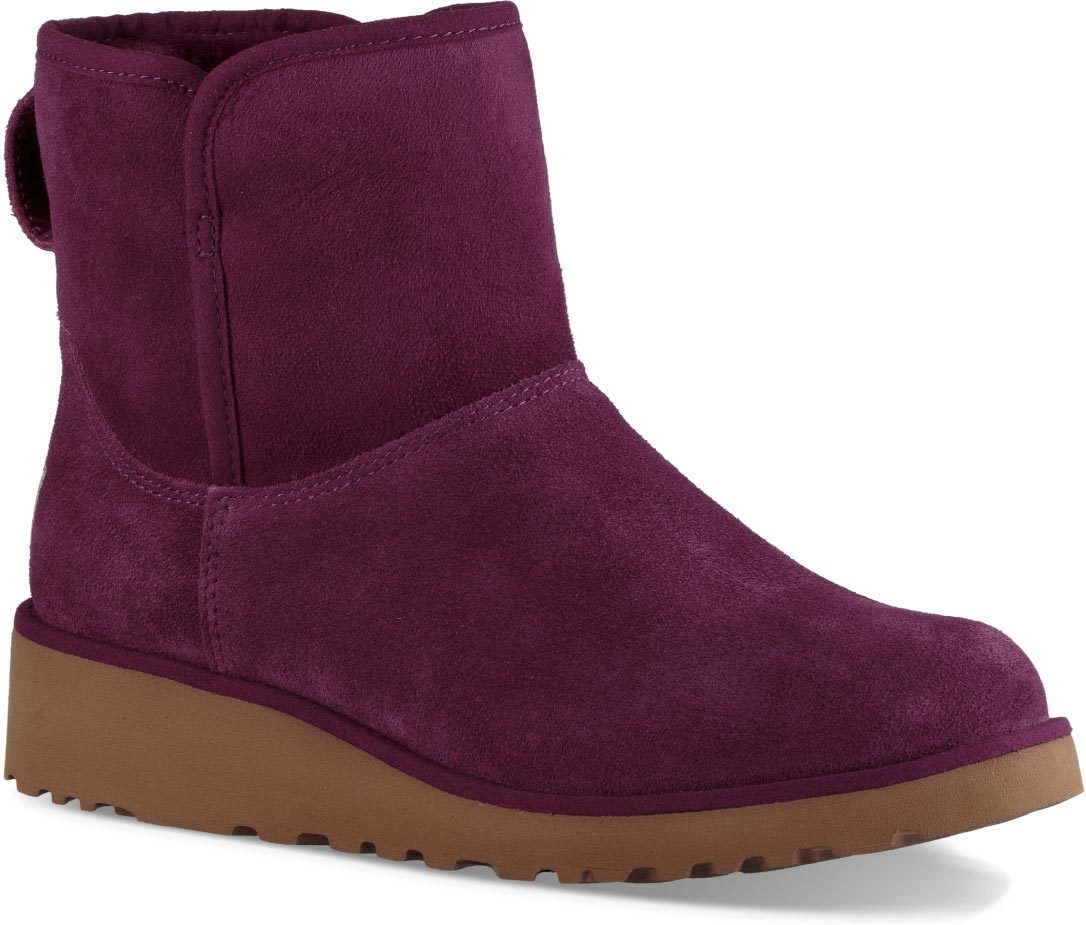
UGG Kristin
UGG Kristin in Purple Passion. Also available in Chestnut, Grey, Navy, and more.
In the colder months, you simply can't go wrong with a pair of UGG boots. The UGG Kristin stands out from the more common UGG boots by offering a slimmer silhouette and a 1½-inch wedge heel. Of course, the comfort features are the same: Plush Twinface sheepskin, a supportive UGGpure™ wool insole, and a flexible, lightweight Treadlite outsole. A 5½-inch shaft height keeps the Kristin short and sweet, about the size of the UGG Classic Mini II. A palette of rich colors gives you a variety of options, so you can choose the UGG Kristin that's perfect for you!
The fun thing about the UGG Kristin is the rear pull tab. Once you've used it to slip the Kristin onto your foot, it's the perfect place to attach a shoe clip!
We hope you enjoy crafting your DIY accessories as much as we did! Shoes are an essential part of your wardrobe, but they should be as fun as they are functional. Hopefully these thoughtful little gifts will light up the holidays for someone special!

